| I decided to make the hoop for the banjo first. I wanted to make a hoop with a 12 inch diameter and 2 inches tall. I ripped an appropriately long piece out of the ash board on my table saw with enough extra for a 3 inch tapered overlapping scarf. I ripped that down to 1/4 inch thick and I tapered the edges for the scarf joint. | |
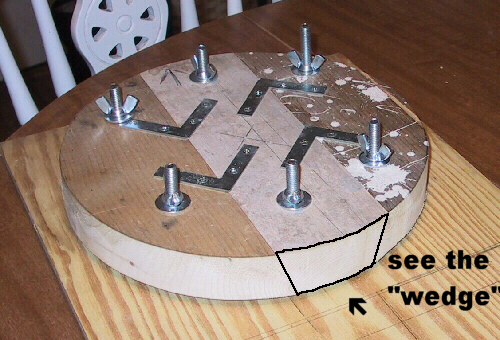 |
I made a form to bend the hoop around. I cut the edges of 3 pieces of 2x stock at an angle so I would have a middle piece that would be wedge shaped and the outer pieces would mate with it. I reasoned that after glueing the hoop it would be easier to remove the form if it was in pieces. I lay the pieces on edge and joined them across the top with angled mending plates then cut out a circle. I bolted this assembly to a piece of plywood to stabilize it. |
| I had already constructed a simple steam chest out of 2 pieces of 3 inch stove pipe, an elbow and a flat piece of 26 gauge sheet steel. I made a plug for the end with 4 3/8 inch holes punched in it to keep the steam from running out too fast. My plan was to just lay the flat plate over the top of a large cooking pot with water boiling in it. | 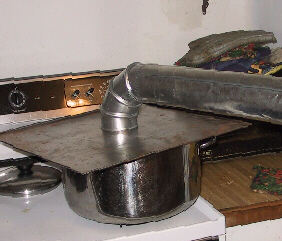 |
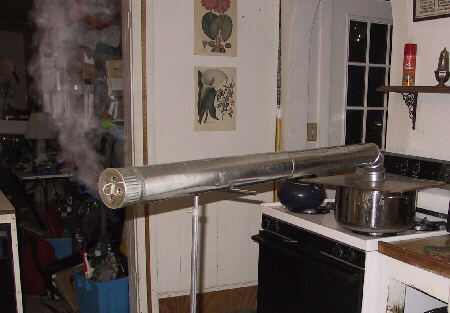 |
Once
the water was boiling I set up the steamer, slid the piece of ash into
it, put in the plug and left it for about 15 minutes. It worked like a
charm. Then I removed the plug (wearing gloves so the steam wouldn't burn
me) and with a pair of tongs flipped the ash to expose the other side to
the steam. I replaced the plug and let it steam for another 15 minutes.
|
| It was time to start bending. I made the mistake of starting the bend from the middle. If I was to do it again I would start from an end and secure it against the jig with a series of pegs. By starting in the middle by the time I got to the ends they had started to cool a bit and they needed a little more "finesse." I let the assembly cool in a "U" then inserted the ends into the steam box again to soften them up a bit and finish the bending. | 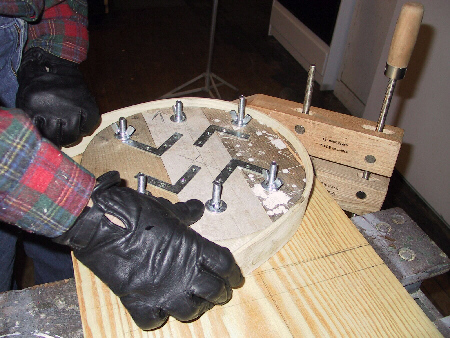 |
|
|
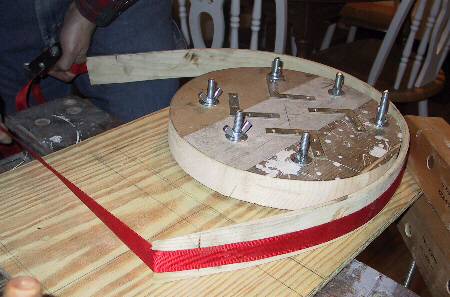
I used a strap clamp to bring the ends together. Notice how the near strap cut into the edge of the scarf a bit. I put chips of masonite on the edges to prevent that after I notice it was happening. If I was to do this again I wouldn't make the end of the scarf paper thin at this point. I'd finish tapering it off after it was glued up. |
|
After letting the hoop set overnight I
released the strap clamp and was ready to glue it. I had already had good
luck with "Gorilla Glue" with an earlier boat-building project (another
"damn-fool idea") and I was ready to give it a try with this. A mistake I
made right off the bat was putting glue on the outfacing side of the
scarf. I suddenly realize |
|
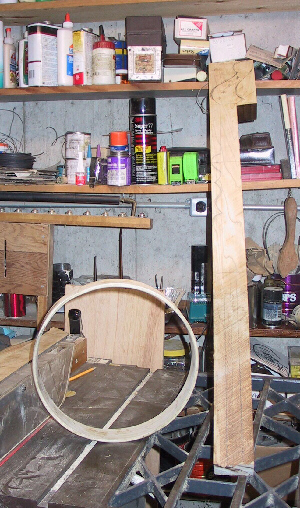 |
So here's the hoop all glued up and removed from the form. (Looks a like a flattened oval in this pic but that's the distortion from the wide-angle lens.) The neck is beside it. If you look closely you can see the penciled in shape for the scroll work below the 5th string and the head. At this point I'm waiting to get a good sharp blade for my bandsaw before I go any further with it. In my head I'm debating whether or not to buy a special hand reamer from a violin makers' tool shop for fitting the holes for the tuning pegs just right. |
|
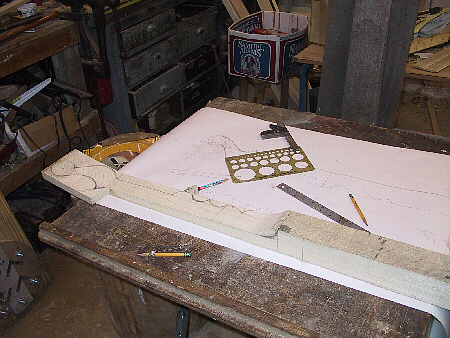
Well - a couple of days later and I've got a new bandsaw blade - what a difference! I cut out the underside of the neck and head and decided it would be easier to cut the scroll work with the stock upside down. That meant I had to re-draft the design on the backside. |
 |
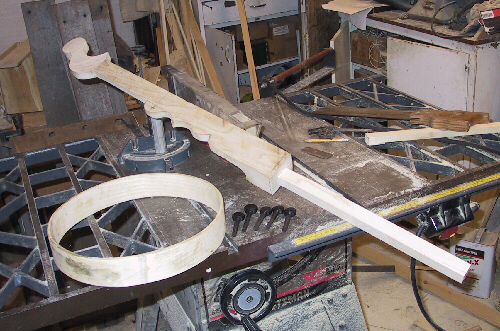 |
About an hour later, here's the neck and stem (?) (pole) roughed out. Next thing I had to do was finish cutting the shoulder where the neck snugs up against the hoop. I needed to drill holes for the tuning pegs and was hoping to get the holes tapered at a music store in Rutland. (Turned out that buying a peghole reamer was not overly expensive and I have used it on other banjos since.) Then I needed to finish shaping the neck. It was starting to look like something but I had to put it aside to do Christmas projects for the next week or so ... |
|
UPDATE!!! For subsequent banjos (the one on these pages would turn out to be only my first ... I used the INSIDE of a large diameter cast iron pipe to put the steamed piece of ash into. This made a lot more sense than bending it around the outside of a form. The natural tendency of the strip to want to straighten out forced it into the form rather than away from the form. I used clamps to snug the hoop up against the walls of the form. I found it is best to leave the hoop in the form for at least a couple of weeks or the wood springs to a "less-than-round" shape. |
 |
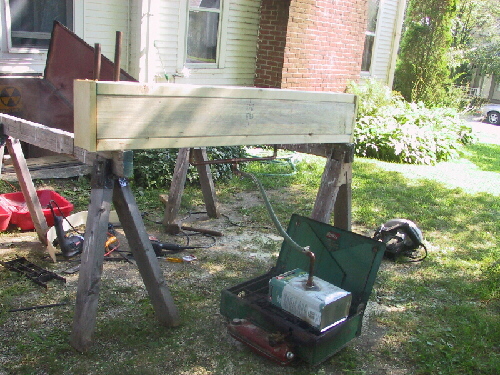 |
I built a steambox out of 2x6's and a boiler from an old 1 gallon can, some copper pipe and fittings and a scrap of garden hose. The two pipes on the end are a bending jig to get the wood started when it comes out of the box. |
 d
this would get glue all over the strap clamp as I was closing the hoop. I
scraped off the glue on that surface and glued the inside face of the
scarf. I put plastic food wrap over the part of the form where the glue
would squeeze out of the scarf so I wouldn't accidentally glue the form
and hoop together and I put a chip of wood with food wrap around it on the
outside of the scarf edge to keep glue from getting on the strap. Also, I
had to play with the ends of the hoop to keep the inside scarf edge from
scraping away the glue that had been applied to the scarf. A second person
helping would have been handy.
d
this would get glue all over the strap clamp as I was closing the hoop. I
scraped off the glue on that surface and glued the inside face of the
scarf. I put plastic food wrap over the part of the form where the glue
would squeeze out of the scarf so I wouldn't accidentally glue the form
and hoop together and I put a chip of wood with food wrap around it on the
outside of the scarf edge to keep glue from getting on the strap. Also, I
had to play with the ends of the hoop to keep the inside scarf edge from
scraping away the glue that had been applied to the scarf. A second person
helping would have been handy.